


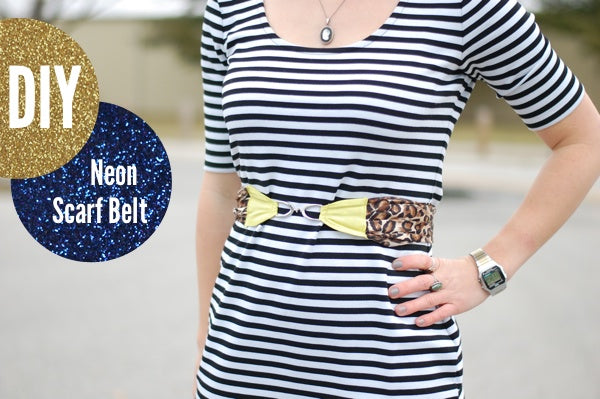
DIY: How to Make a Belt from a Scarf
I know we say it all the time, but you can make almost anything out of a scarf. Everything from a baby sling, to a shirt, to curtains, to art, and even camera straps — scarves can do it all.
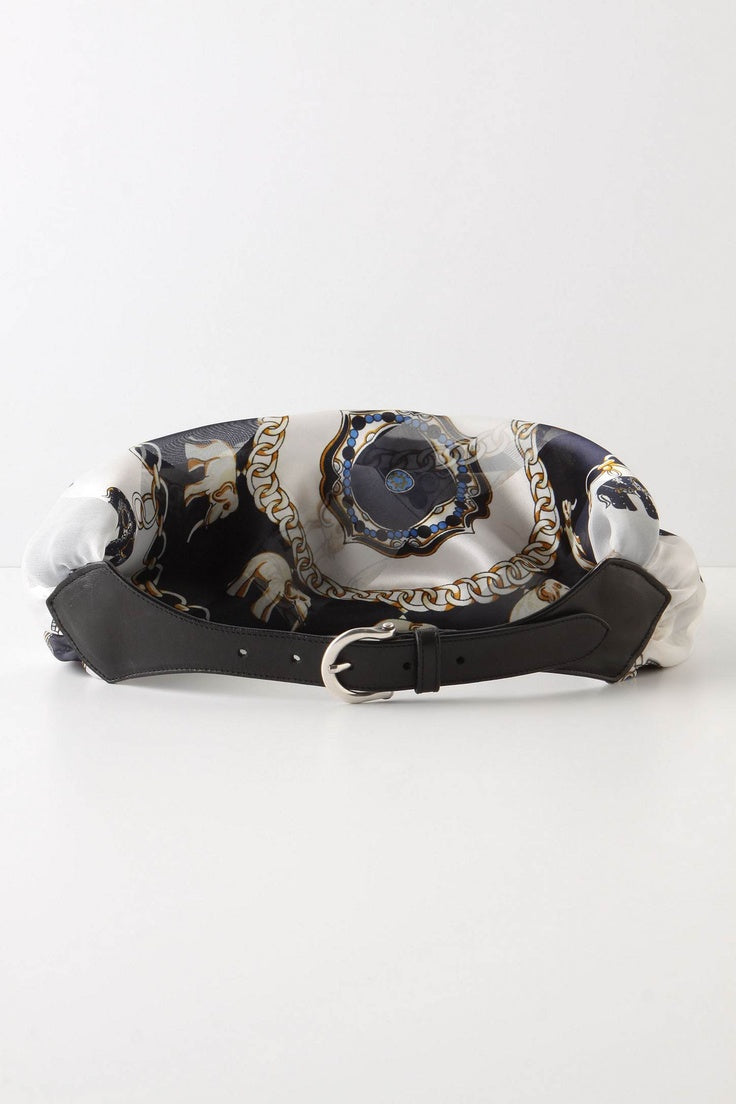
A while back, the girls in the scarf office saw a scarf belt over on Anthropologie and we knew we had to make a DIY version of our own.
How to Make a Scarf Belt
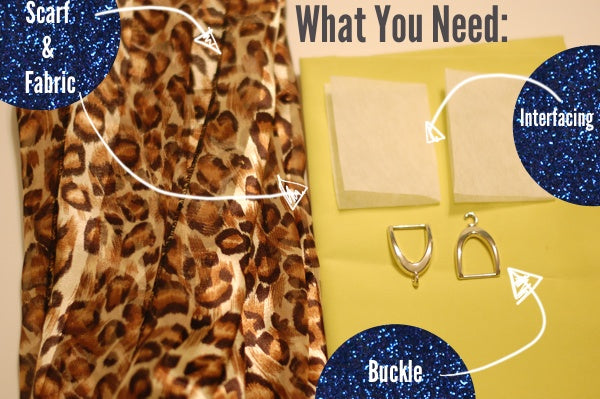
Supplies:
– A skinny scarf — I used this leopard print skinny scarf
– Scissors
– Sewing machine or needle and thread
– Fabric, leather, or an old belt buckle
– A clasp if you do not use a belt buckle (Like the one in photo)
– Fabric interfacing (Or any stiff fabric)
– Iron
– Pins
Step 1: The first thing you need to do is take your skinny scarf and wrap it around your waist to measure and get the size of your belt. Then cut the scarf where it meets around your waist. You can always adjust this later to make it tighter.
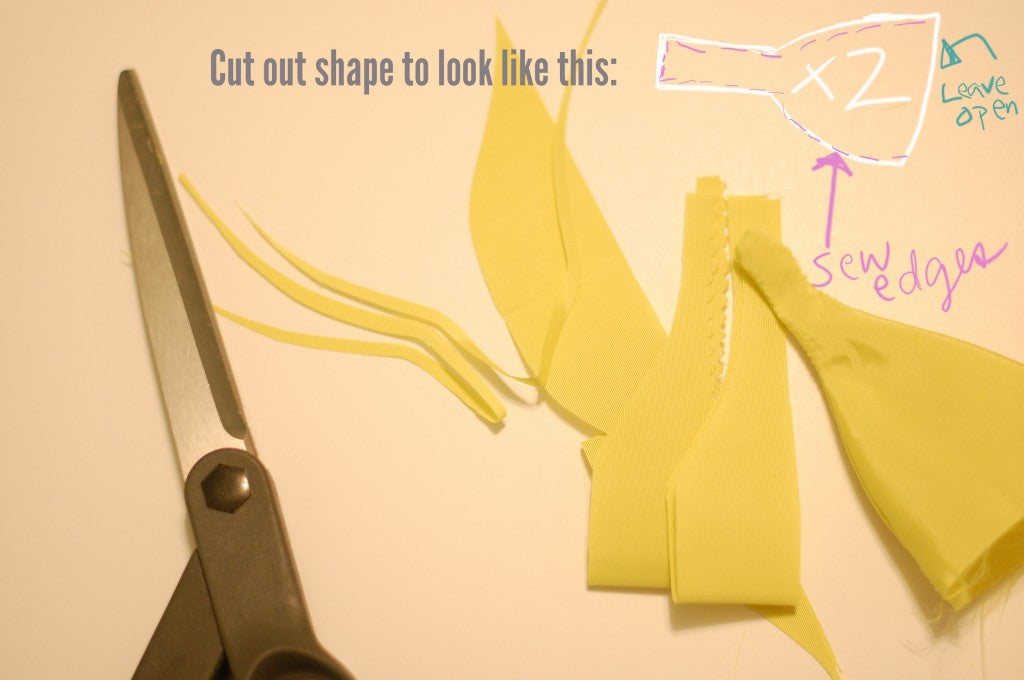
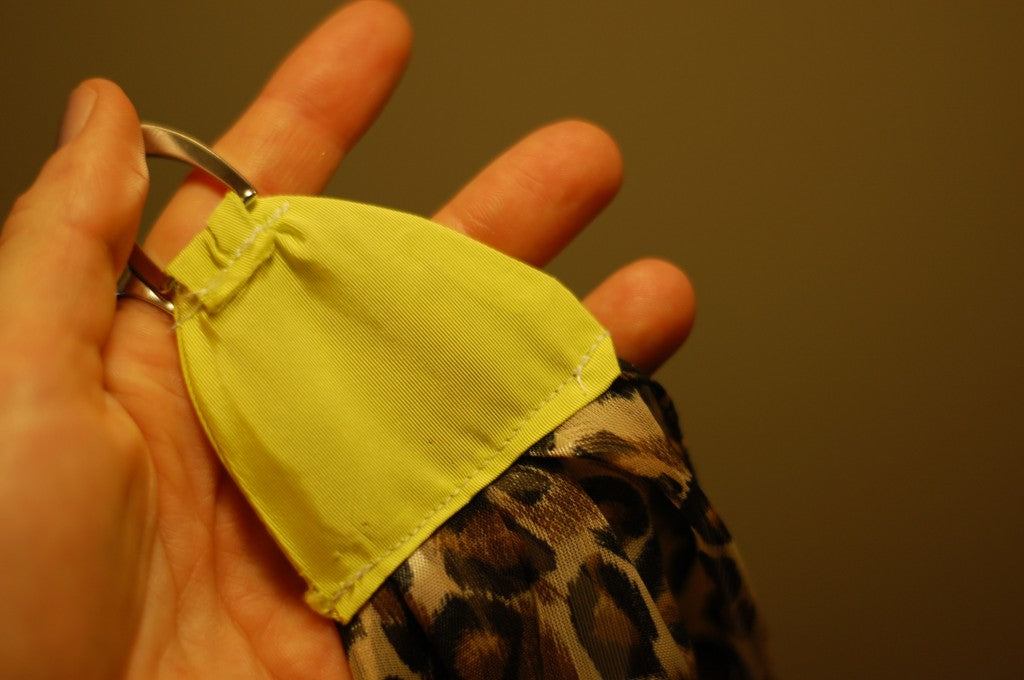
Step 2: Cut out your neon fabric in the shape in the photo. In total, you will need four layers of the chimney-looking shape — two layers of fabric to make a pocket for each side of the belt. Layer two fabric pieces together, and then stitch up the sides, leaving the wide end open. This little pocket is where you will stitch the ends of your scarf to make the belt. After you stitch up the sides, flip your little pockets inside out and press them flat. While you are ironing, you can iron under the edges of the open ends of your little fabric pieces. This will make sure you don’t have any unfinished edges after you slip the ends of your scarf inside the fabric pieces.
Step 3: If you use a clasp like the one we did, you can just wrap the long, sewn-up end of the neon fabric piece around the clasp and stitch it into place. I would recommend back stitching a couple of times to make sure the belt does not break. After you have the belt clasps sewn together, slip the ends of the scarf inside the open holes of your neon fabric piece and stitch it up. *Tip: I pinned the scarf in place and then tested it around my waist to make sure it was the length I wanted. If it is too long, you can always stuff a bit more scarf into the little neon fabric pocket.
:)
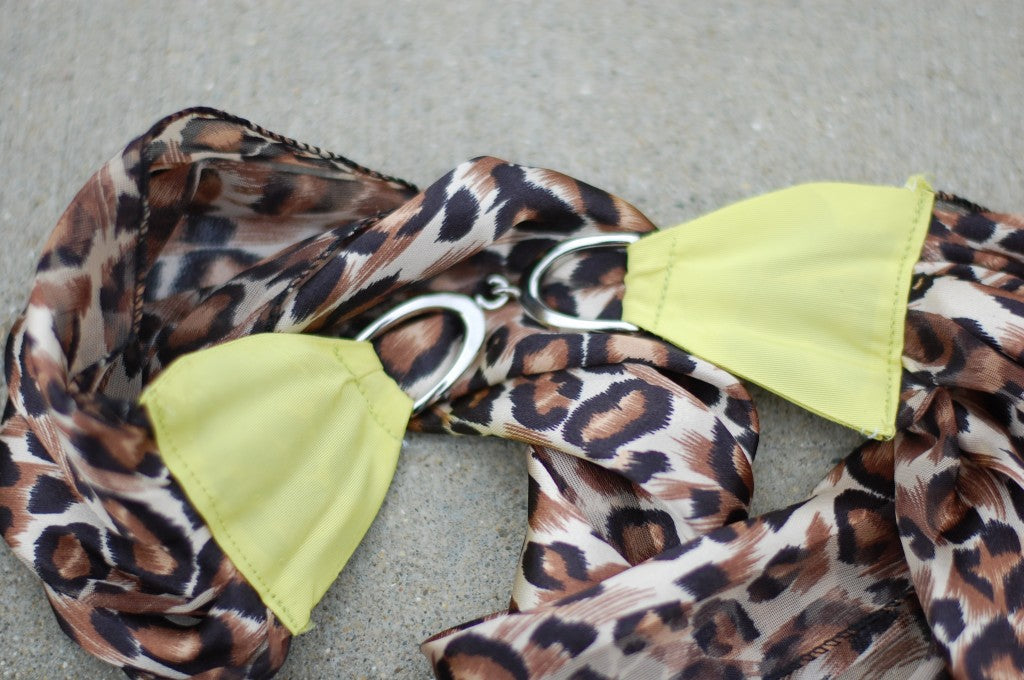
Here is a close-up of what the finished belt looks like.
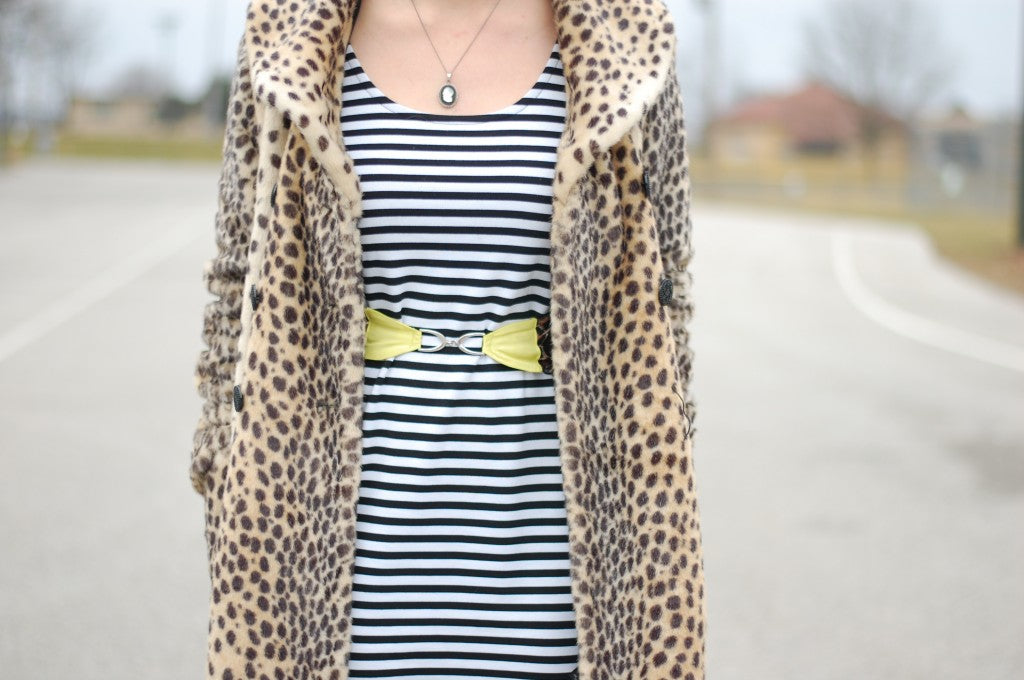
Voila! And the scarf remains the most versatile and DIY-able accessory… ever. ;)
There's no place like home! Take me back to ScarvesDotNet.