

DIY Glass Napkin
From halter tops to galaxy scarves, the SDN gals can’t get enough of crafty, creative, and innovative ways to use (and reuse) our favorite accessory. That’s why we’re beyond thrilled to bring you our latest series: The Scarves Dot Net DIY Challenge.
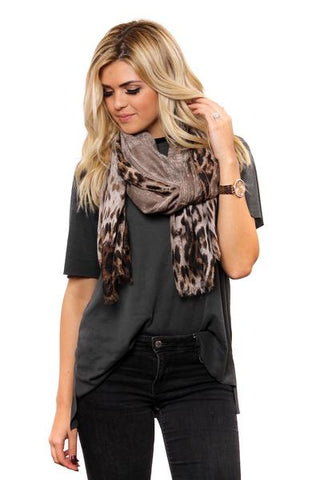
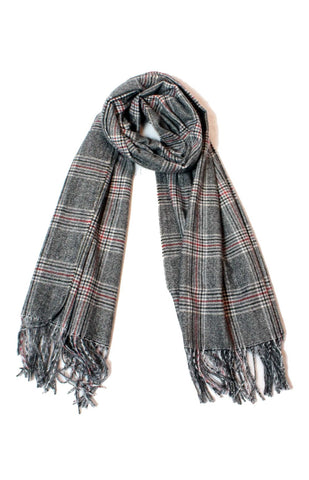
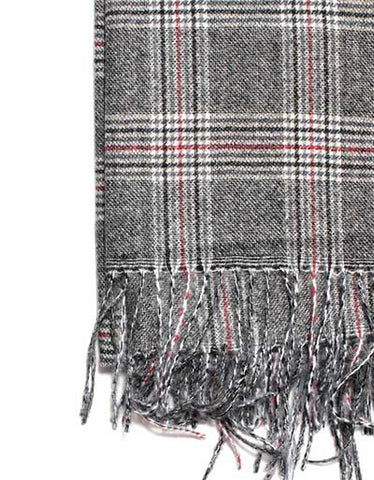
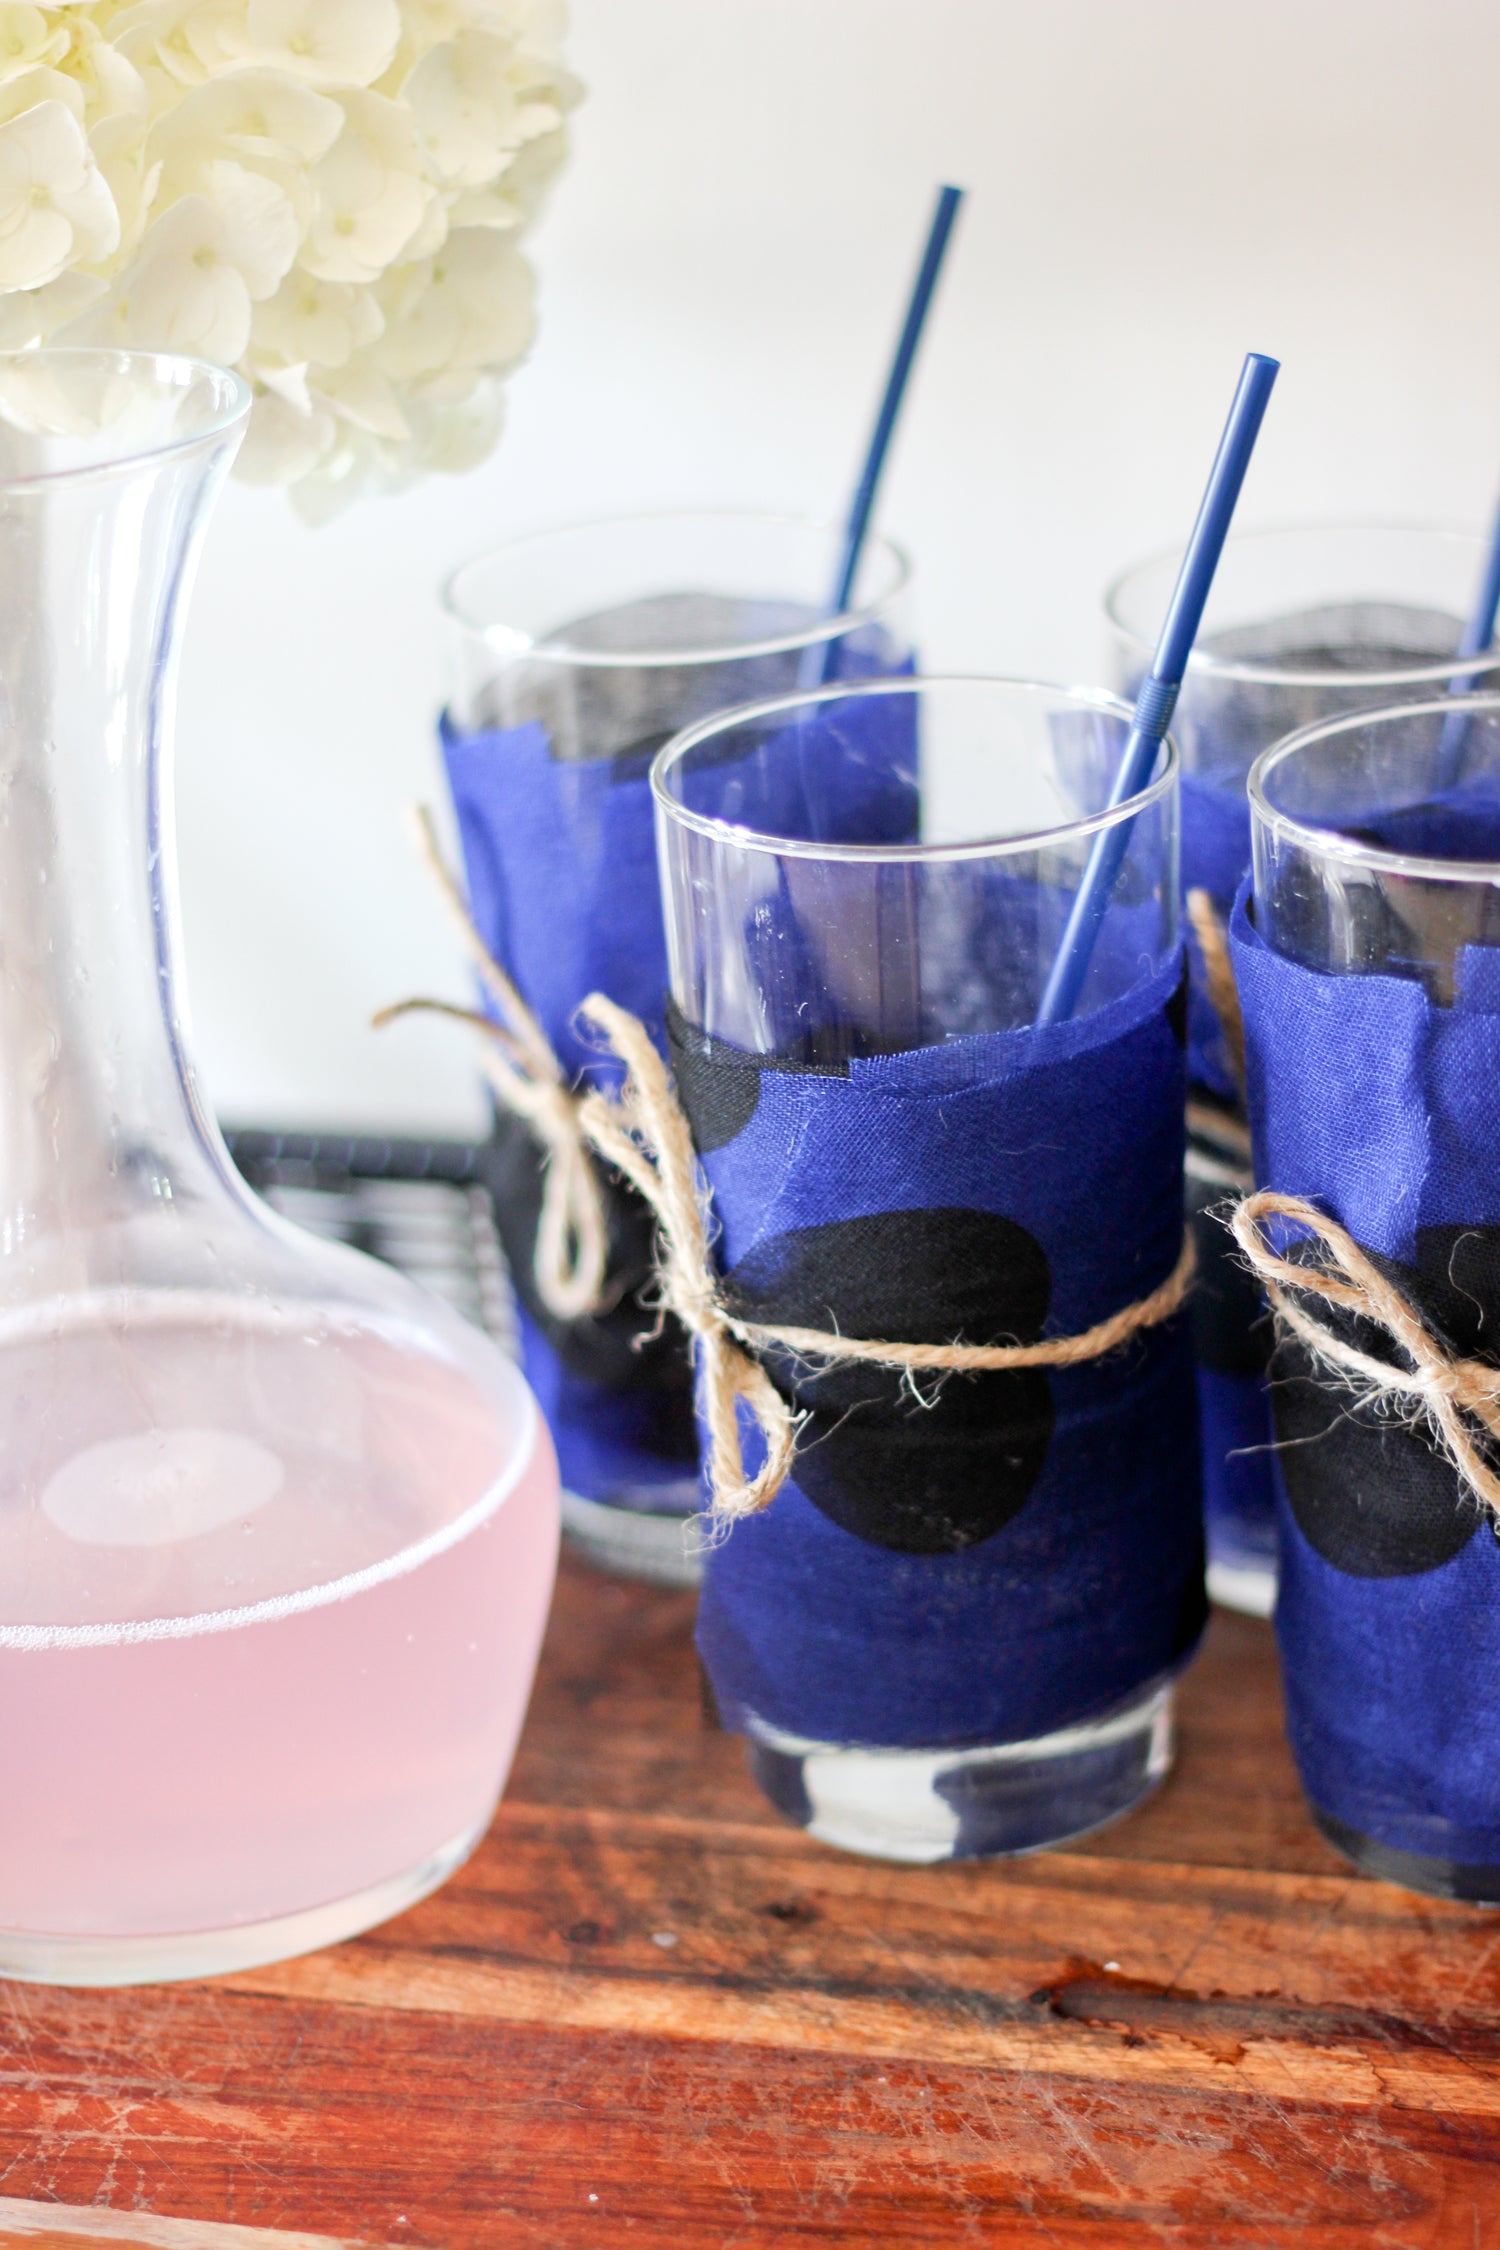
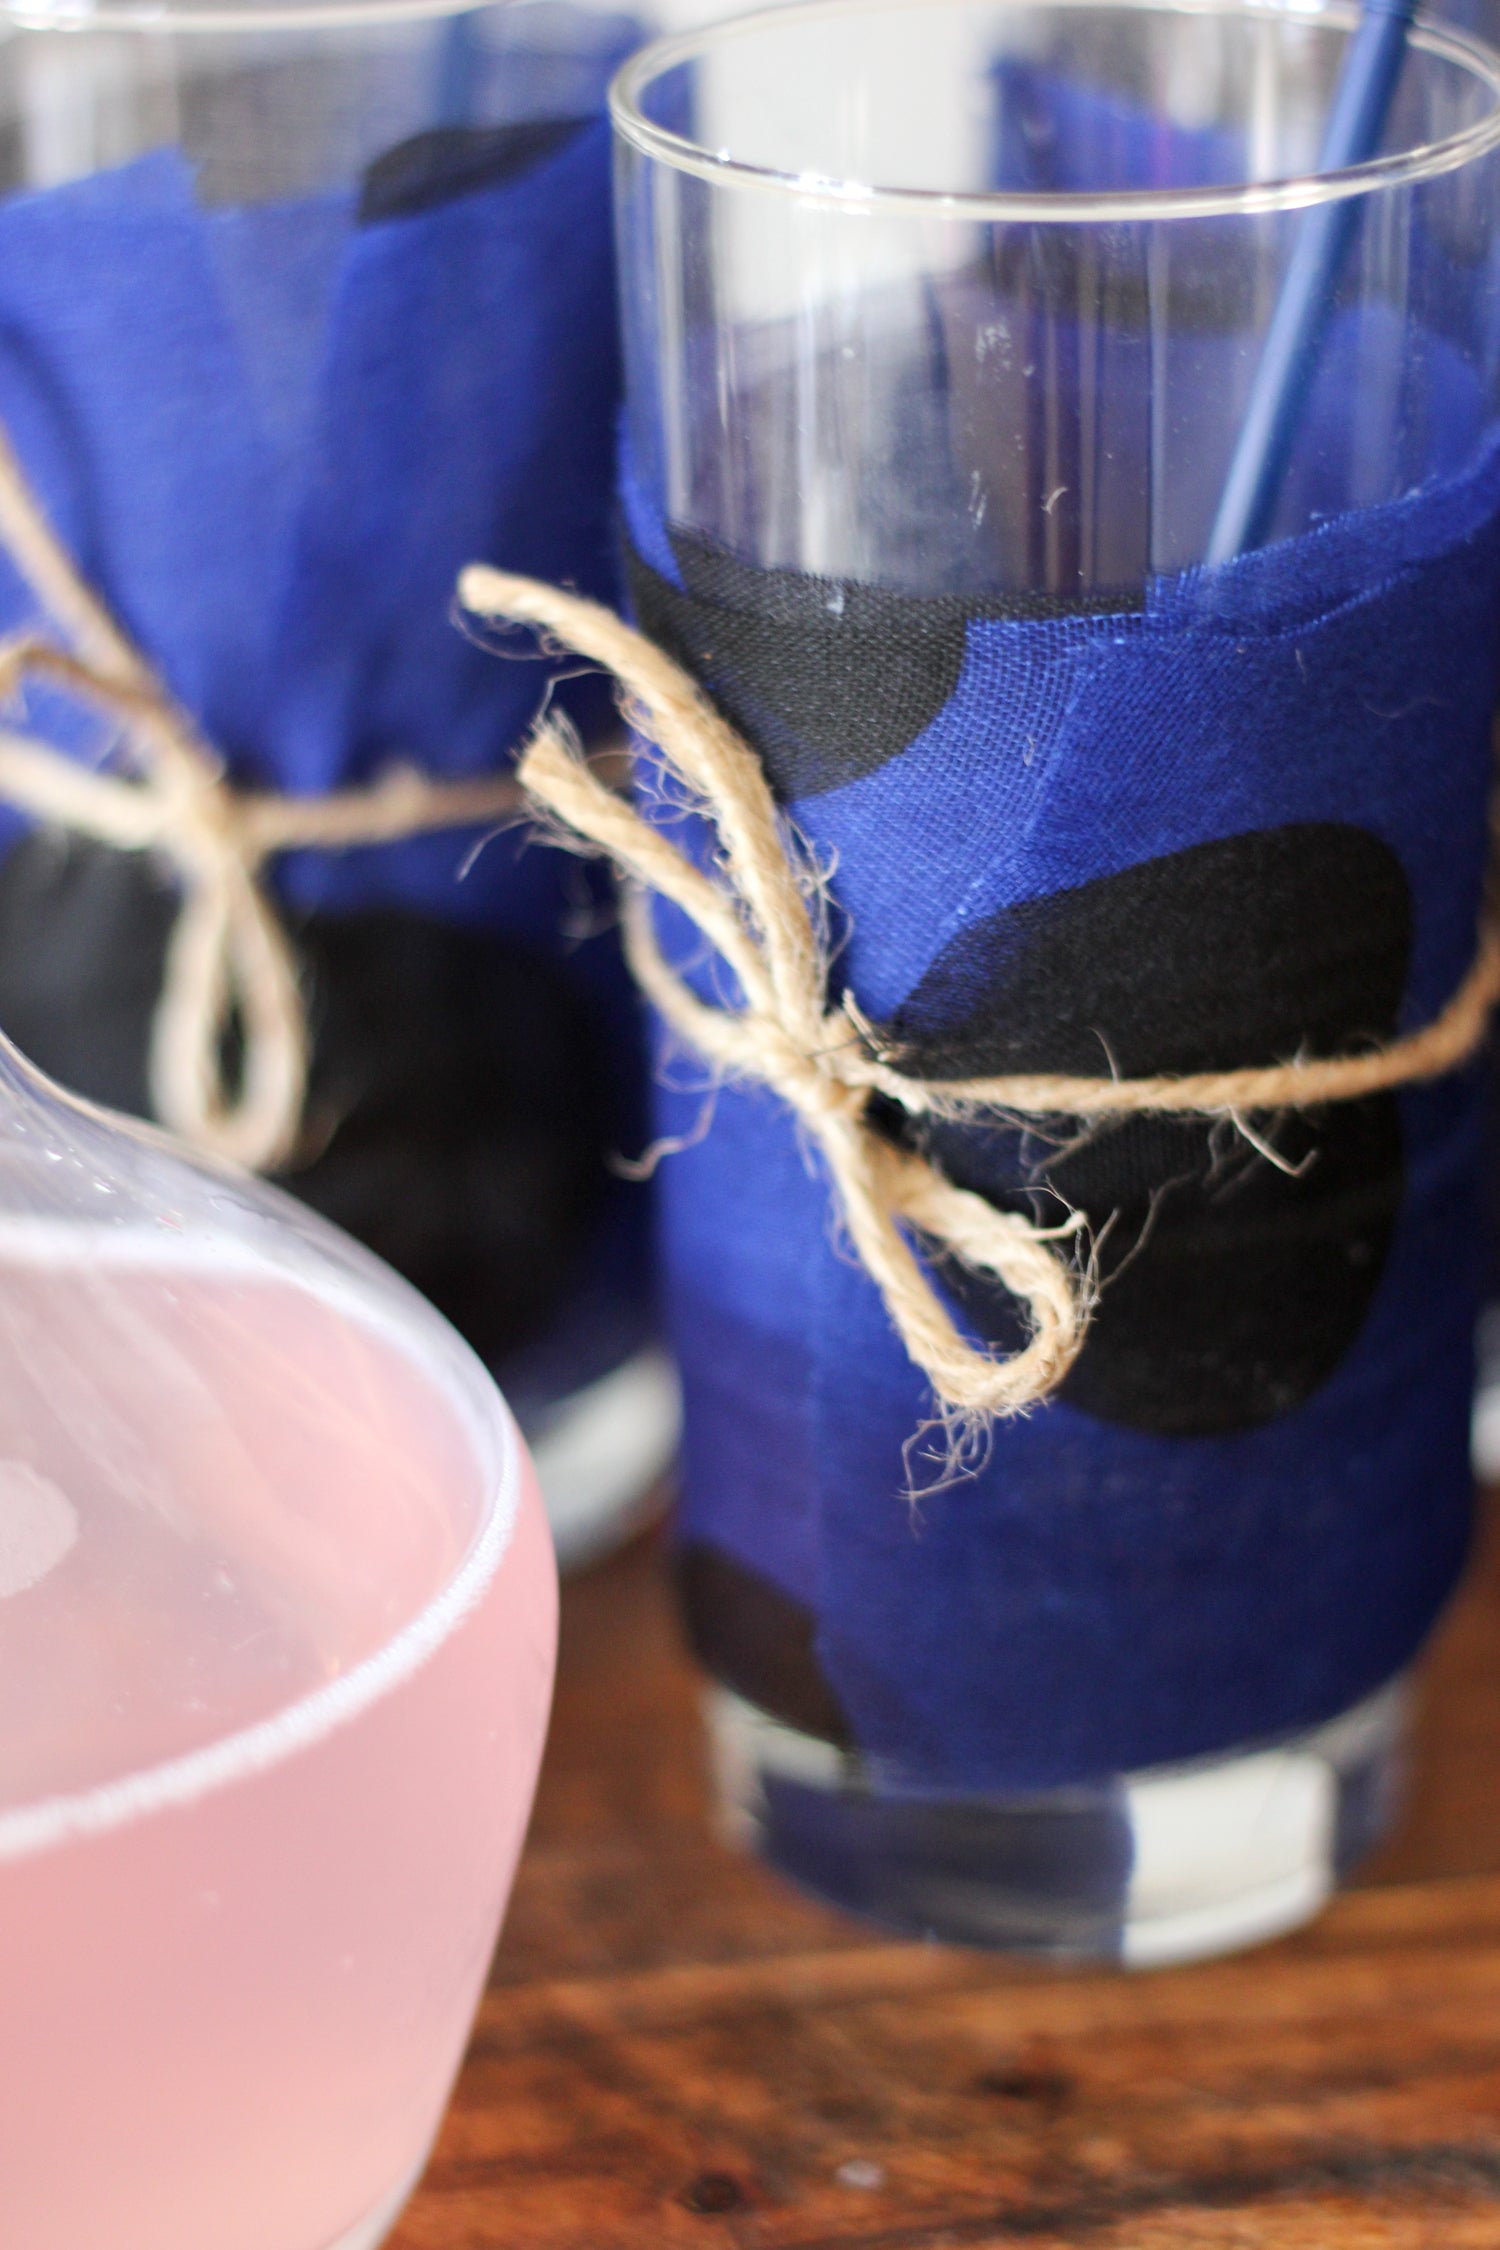
Using our Madison Scarf, Lauren of A Fabulous Fete created the cutest little glass covers you ever did see — a must for any Labor Day parties coming up! Follow her easy tutorial below, and you’ll be the chicest host in no time (and keep your furniture free from glass rings!). We love this idea for all seasons, too.
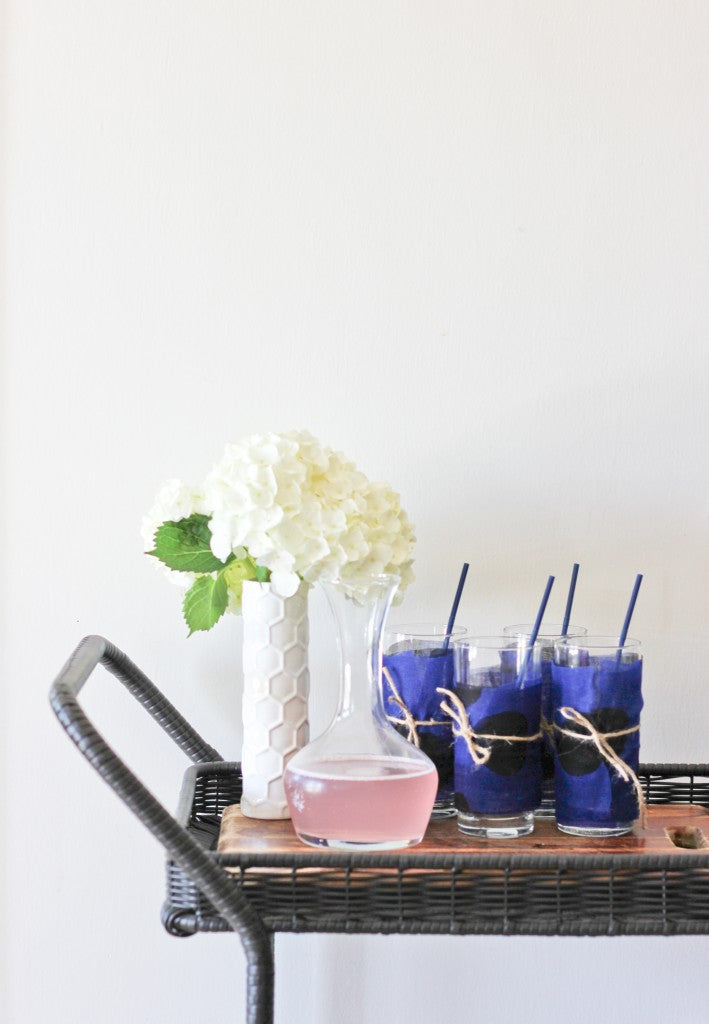
With summer here, the heat rising, and backyard parties in full swing, refreshing cocktails and drinks are sure to be served. The problem with your frosty drinks in the summer? They sweat like crazy leaving you with puddles and rings all over your pretty little tables. Sure, you can try to pass out coasters, but let’s be honest, nobody uses a coaster at a party. And they sure aren’t going to carry one around with them as they mix and mingle.
Solution: Control it before it ever leaves the glass by creating a napkin that stays with your guests’ glasses! Here is what you need and instructions to make your own set.
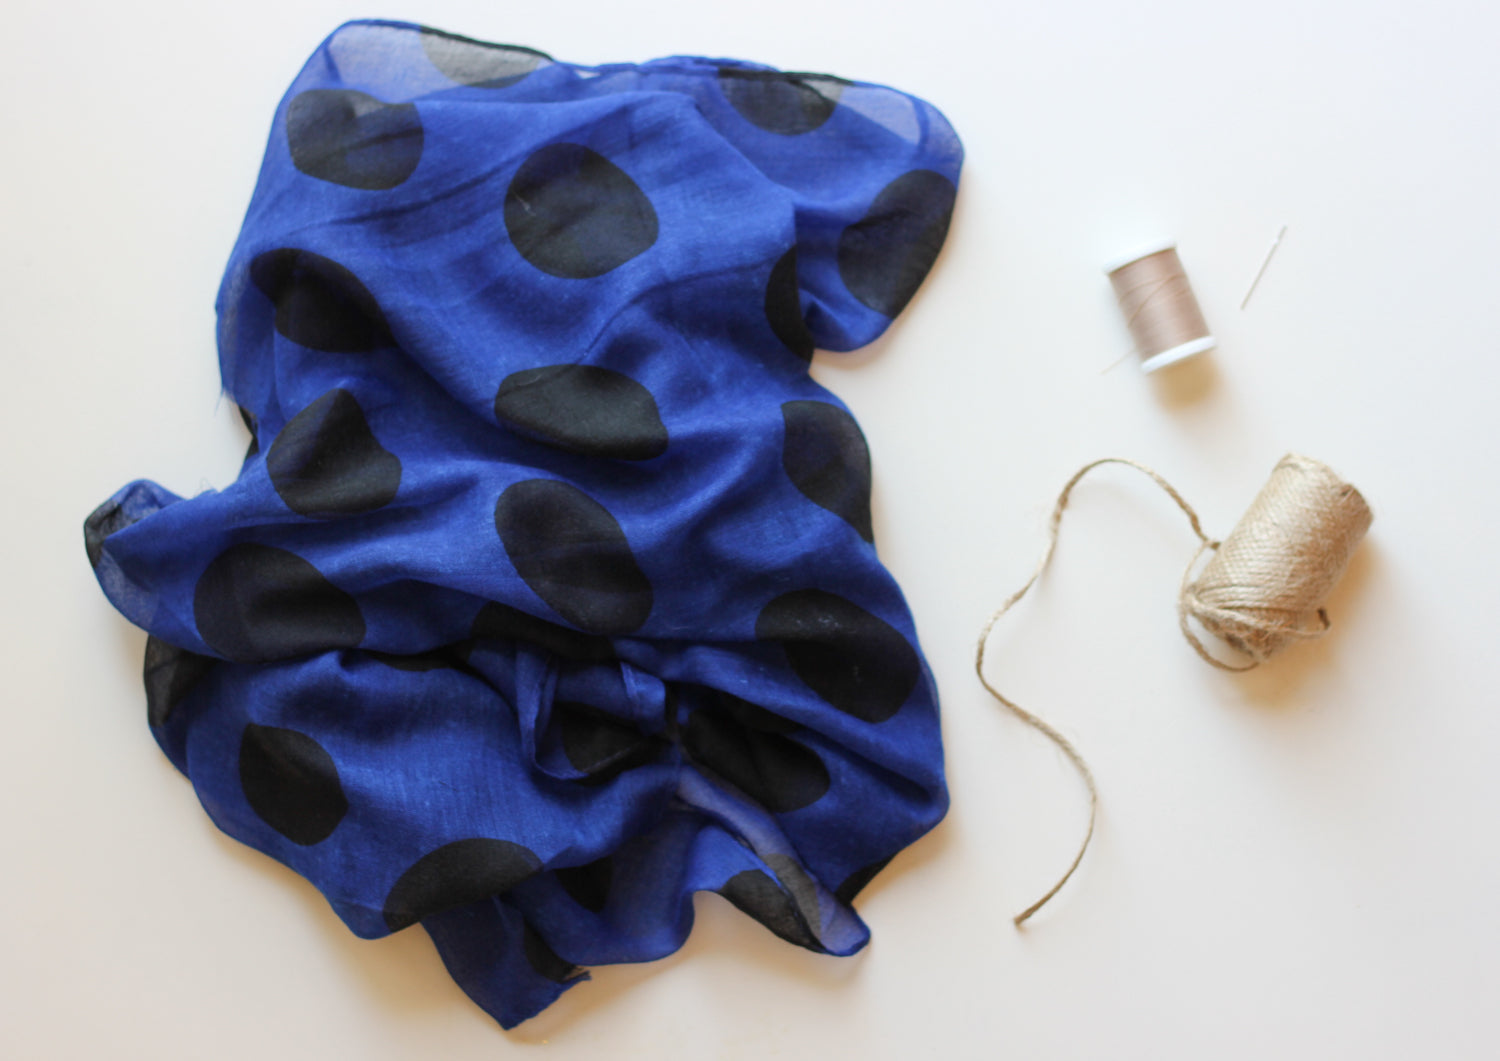
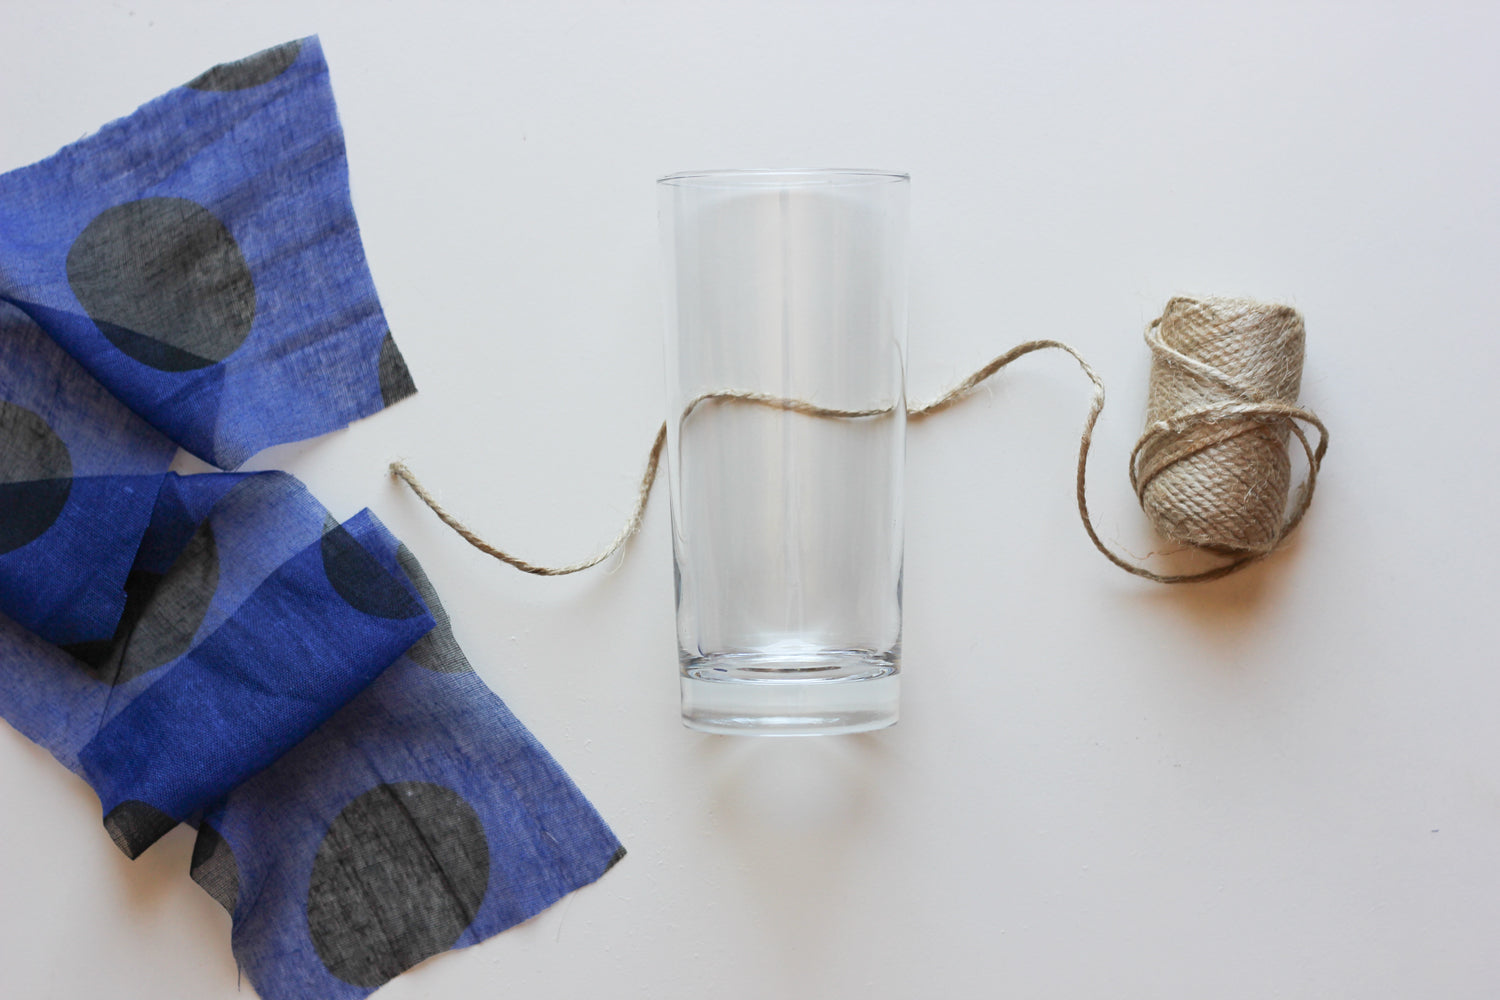
Here’s what you’ll need:
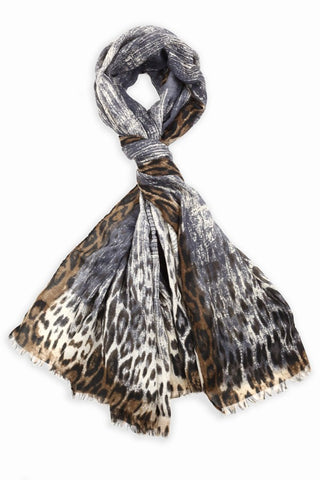
- One patterned scarf (find the one used in this tutorial here)
- Twine or ribbon
- Thread
- Needle
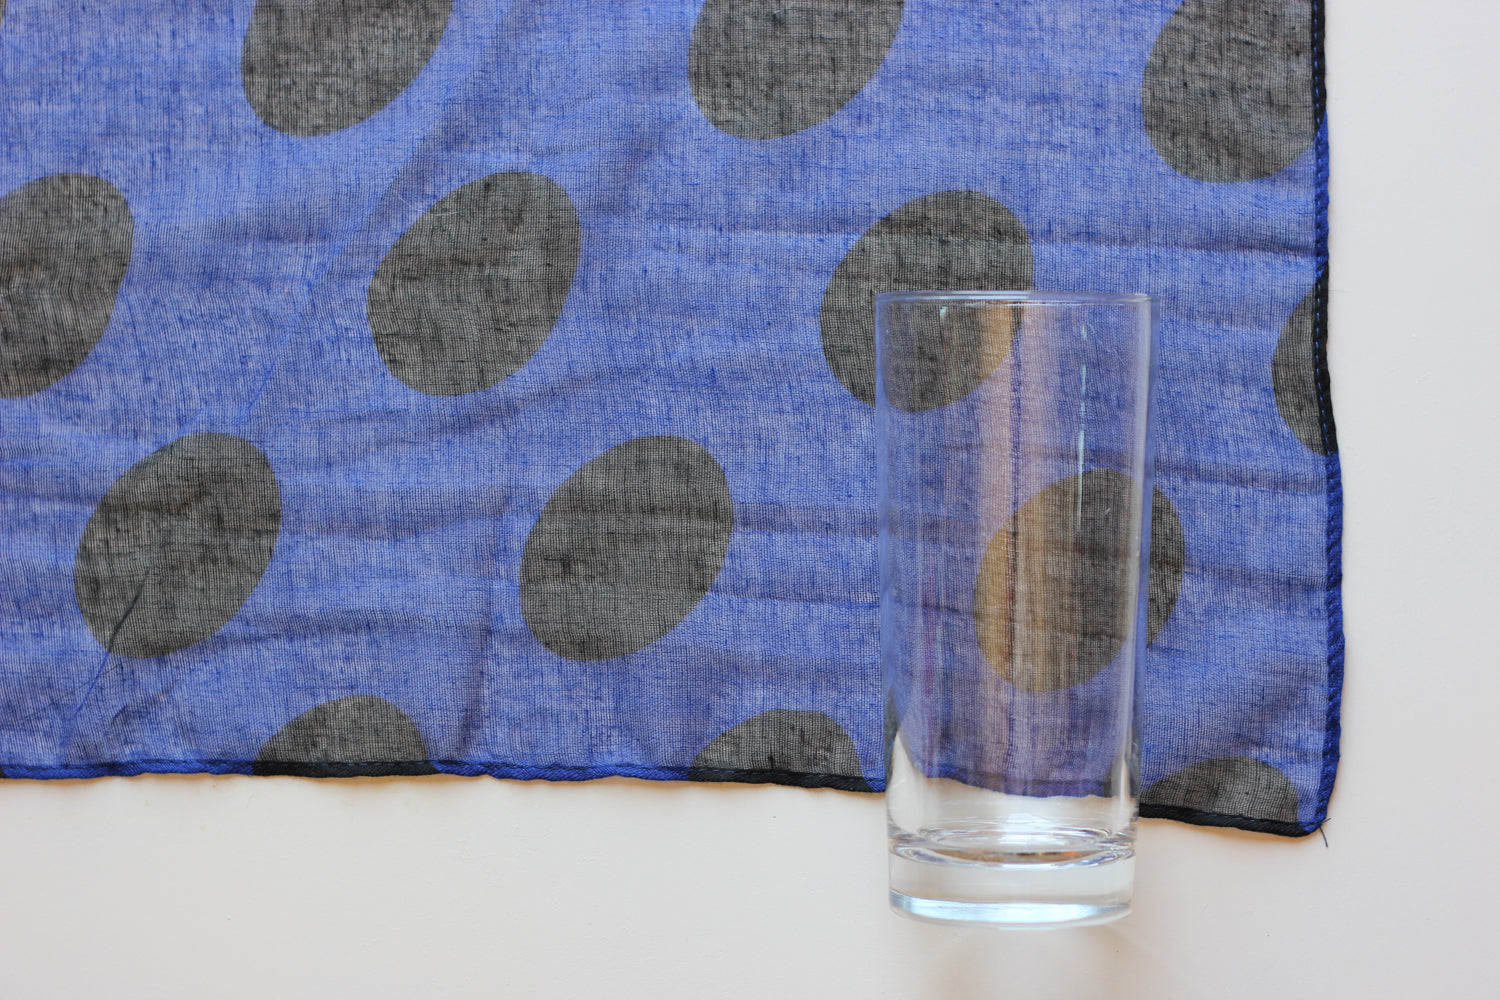
Step 1: Lay your scarf flat, then place the glass at the corner of the scarf. The glass should sit about an inch below the edge of the scarf. Measure down about 1 inch from the top of your glass, and start cutting horizontally to create the strip that will wrap around the glass. The strip should wrap around the glass about 3 times, so measure your glass and cut the length accordingly.
Step 2: Now, take your twin or ribbon and measure around the middle of your glass. Add enough extra length so that you could tie it in a knot or bow.
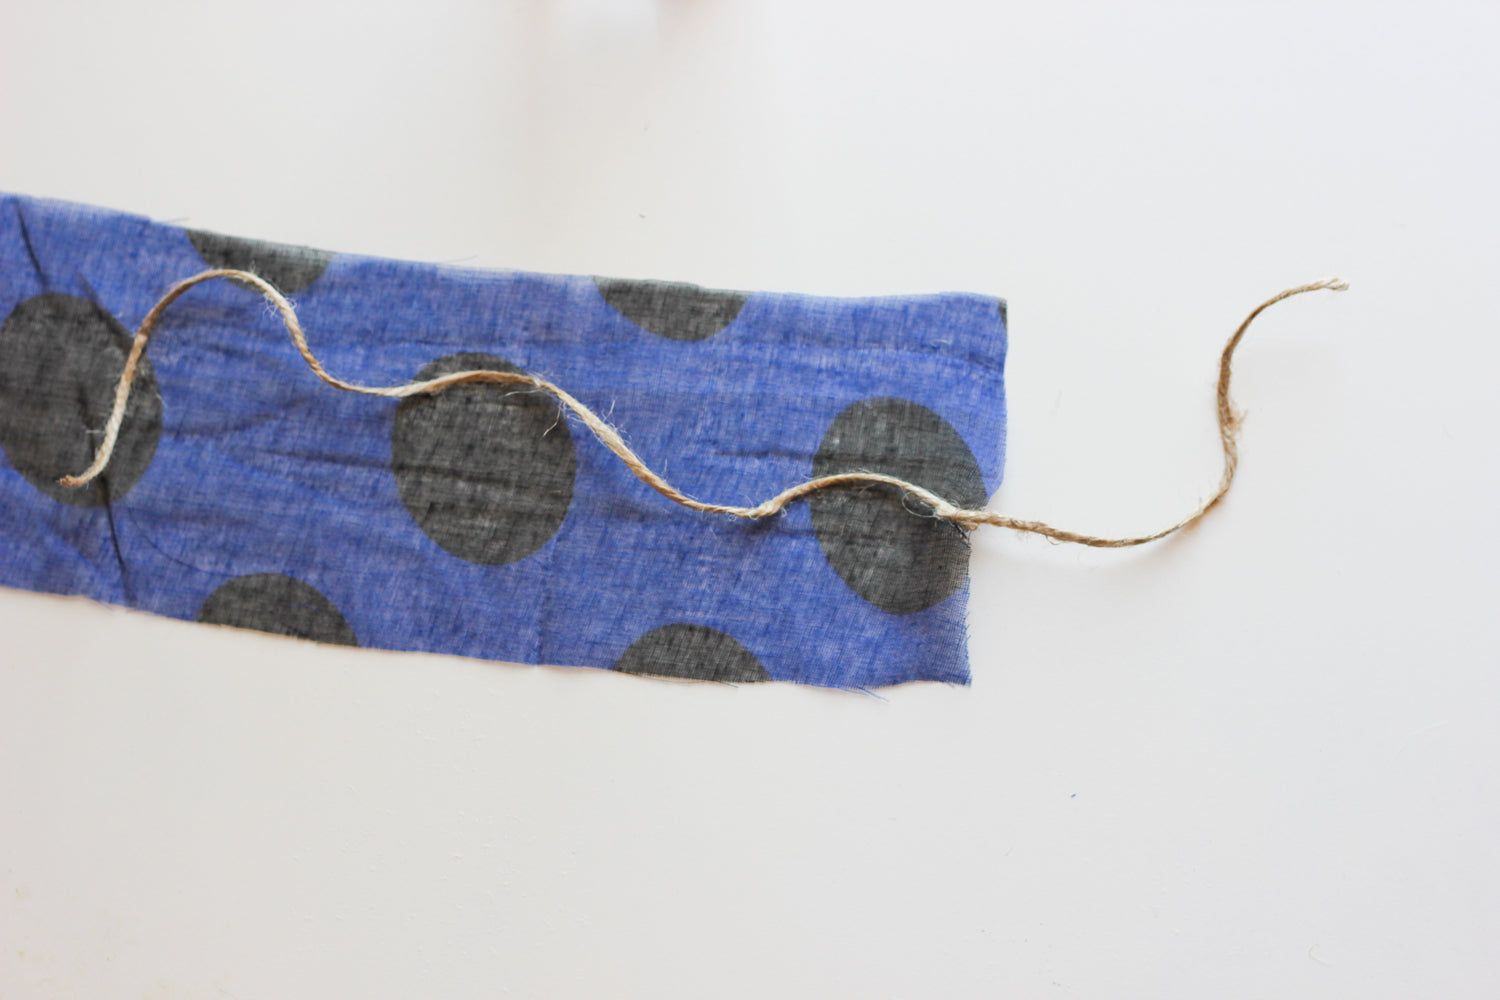
Step 3: Stitch the twine down to the edge of the strip you cut, leaving about 2/3 to one side of the edge, and 1/3 to the other (you will be wrapping the long side all the way around the glass to meet back up with the shorter edge).
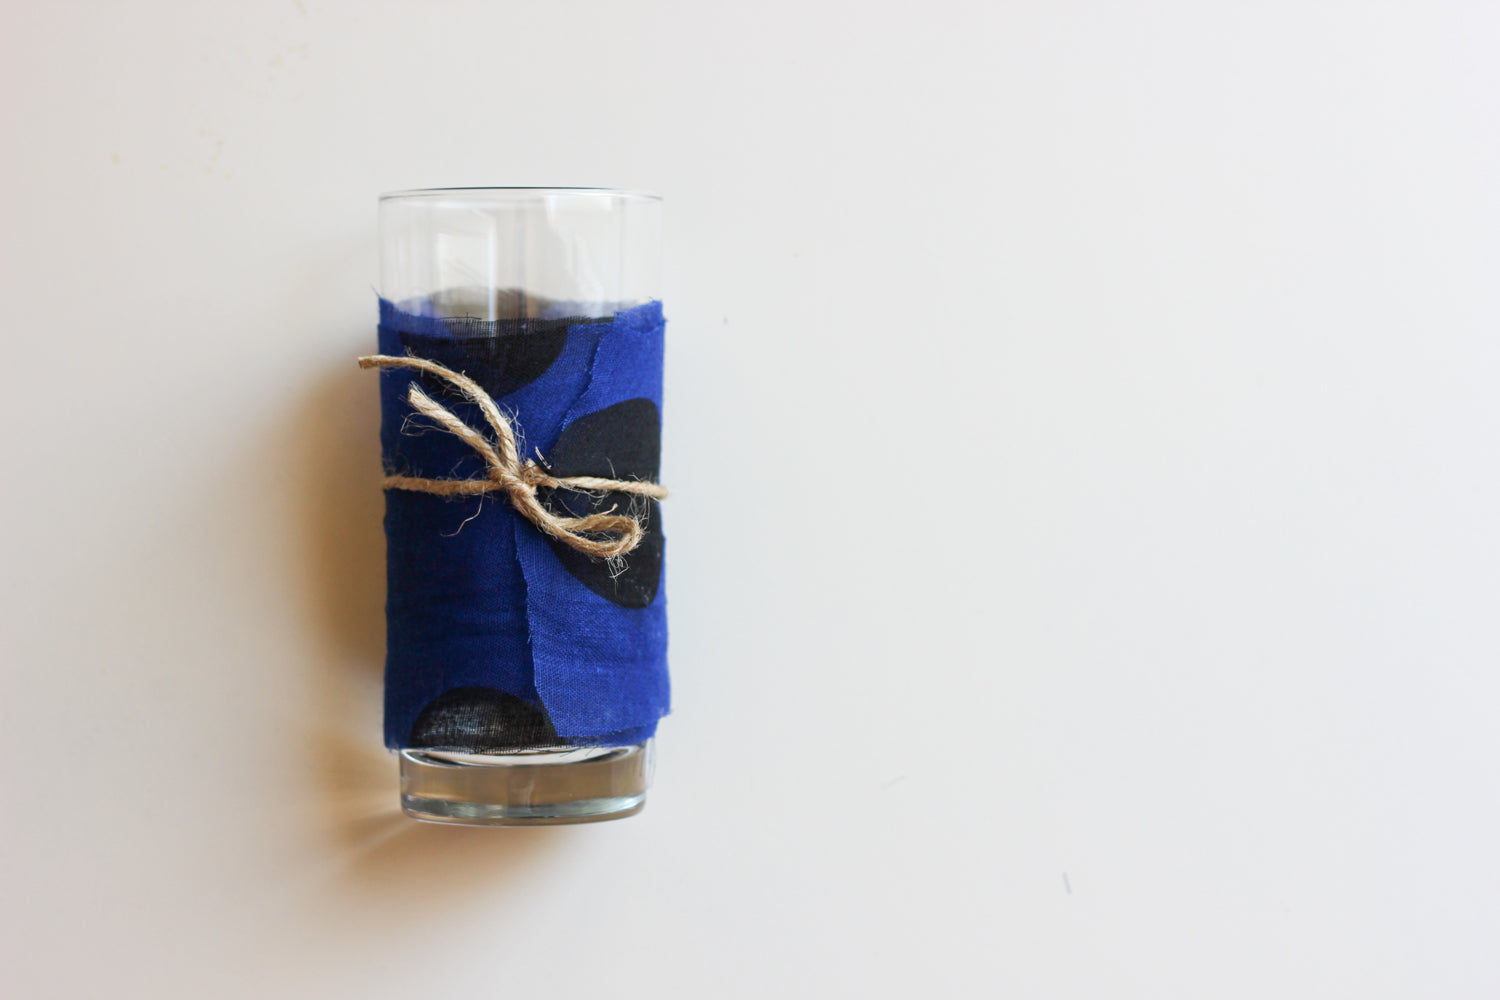
Step 4: Place your glass on the strip at the opposite end of the twine, and start rolling the glass up tightly towards the twin. Once you reach the end, wrap the long end of the twine tightly, all the way around the glass and back to met the other piece. Tie, and you’re done!

After the party is over, all you have to do is untie each one and lay flat to dry overnight. Store and reuse for your next big event!
Special thanks to Lauren for this lovely (and party-saving) DIY!

There's no place like home! Take me back to ScarvesDotNet.