

How to DIY Paper Mache Letters
If you want a unique but inexpensive way to decorate and personalize your next party, there is a simple fix. It’s as easy as A-B-C, literally! Head to your local craft store to grab your pre-made cardboard or paper mache letters of choice. (Choose letters to showcase an activity, highlight your party theme, serve as personal monogram decorations, etc.) Then, just follow our instructions below!
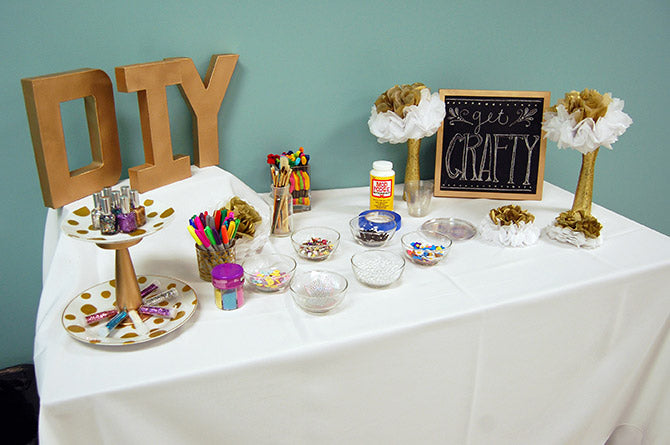
(At Scarves Dot Net, we have a crafting table in our office. We thought, why not highlight this table with a craft itself? We DIY’d “DIY.”)
What You’ll Need:
- Letters for your word of choice (We bought ours here.)
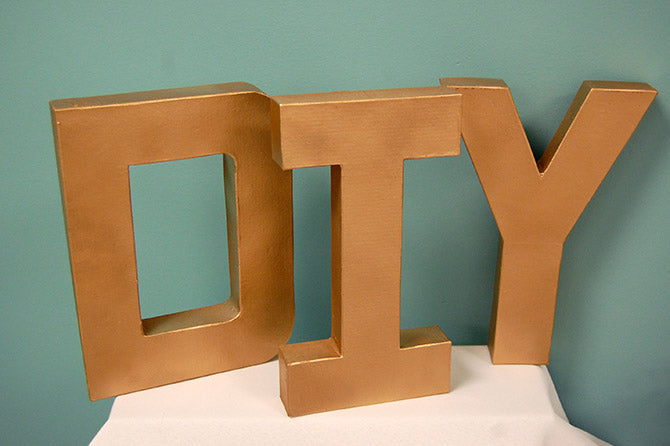
- Spray paint (We used “Krylon Metallic Gold.”)
How-To:
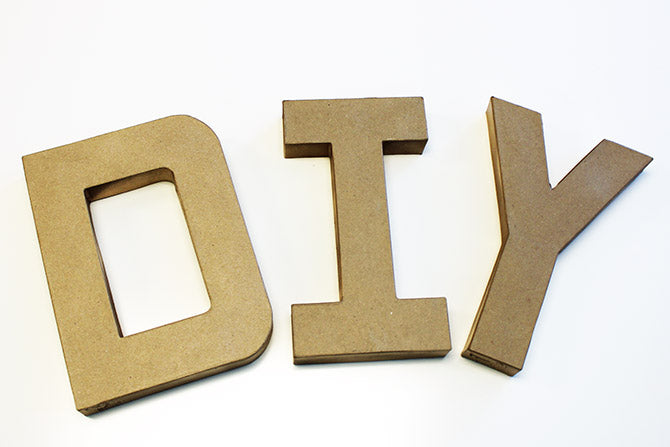
Step One – Lay your letters out on old newspaper or a similar material, as to avoid damaging any surfaces in the area where you’ll be painting.

Step Two – Go crazy with the spray paint on the letters! Or just lightly spray them — your choice. Either way, be sure to get all of the nooks and crannies, so you don’t have any uncovered spots. Also, watch out for runny paint. You want to make sure the letters look smooth!
Step Three – Let your letters dry for a few hours. (The heavier the paint coat, the more time needed.)
Step Four – Repeat until you have your desired shade of color.
This sounds very simple … and that’s because it is! Want to up the ante? You can always pair this easy-peasy DIY with these polka dot plates and a glittered vase to create an even greater glam atmosphere.
There's no place like home! Take me back to ScarvesDotNet.