DIY Gift Wrapping
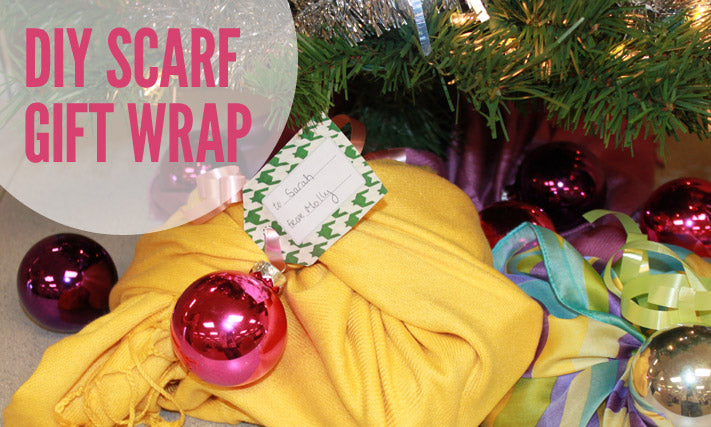
Here at Scarves Dot Net, our favorite accessory is working overtime this holiday season. Scarves are keeping us cozy on our morning coffee runs, acting as our party-season plus ones, and glitzing up all the gifts we give this winter.
That’s right — this year we’re trading in the corny wrapping paper and over-the-top bows for a significantly more sophisticated option — scarves! Not only do they look fabulous, but it’s like giving two gifts in one!
Check out these three easy-peasy ways to DIY your own scarf gift wrap!
What You Will Need
- A scarf (we recommend a square scarf or pashmina)
- Your gift
- Ribbon
- Scissors
- Printable holiday gift tags (Our super cute, scarf-patterned tags are free to download!)
Wrapping a Gift with a Square Scarf
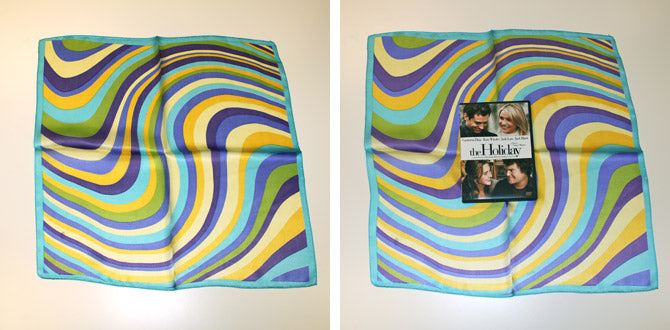
Step 1
Center your gift in the middle of your square scarf (we used this one).
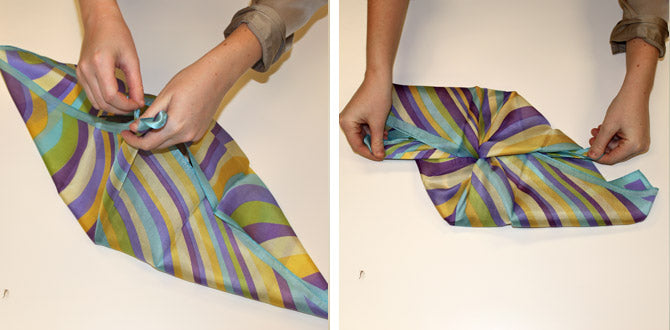
Step 2
Using opposite corners of the scarf, tie a knot at the center of the gift.
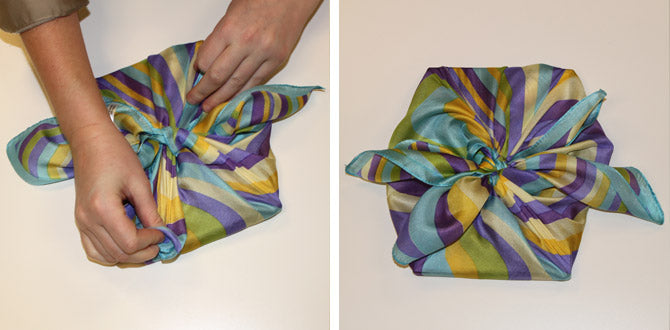
Step 3
Taking the two remaining corners, tie another knot atop the first one and adjust to your liking.
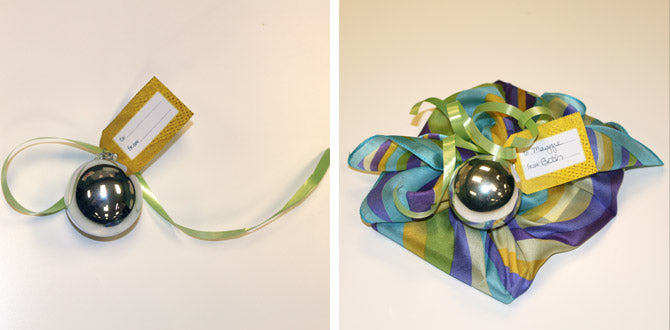
Step 4
Top it off with one of our free and festive gift tags. These pretty printables are inspired by some of our favorite scarves and are designed to spread maximum cheer. Select the style that best suits your giftee, snip, and share the seasonal scarf love! We accented our tag with ribbon and a classic silver ornament.
Wrapping a Gift with a Rectangular Scarf
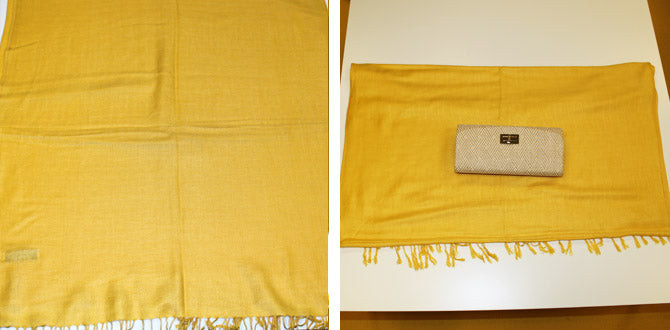
Step 1
Fold your scarf (we used this one) in half and lay it out flat. Depending on the size of your gift, you may need to fold your scarf in half again, like we did. Place your gift in the center of the folded scarf.
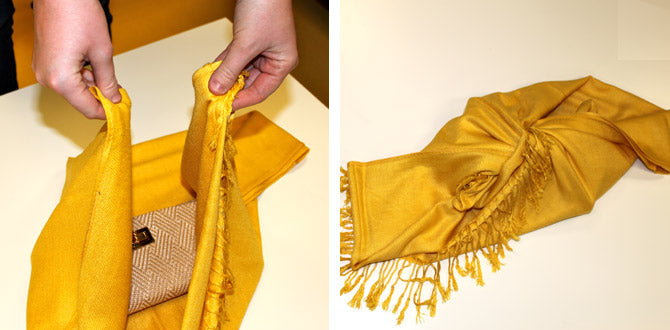
Step 2
Picking up two opposite corners of the scarf, tie a knot above the center of the gift.
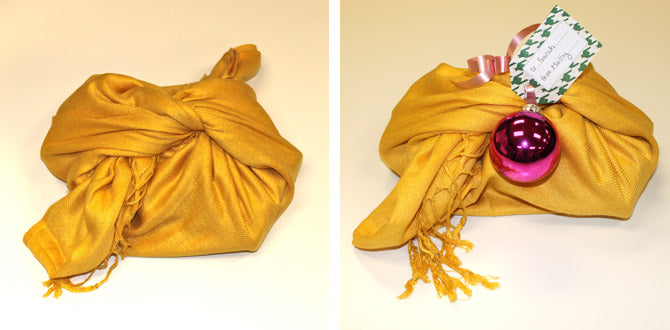
Step 3
Using the two remaining corners, tie another knot. To complete the look, don’t forget your printable scarf tag!
Wrapping a Bottle
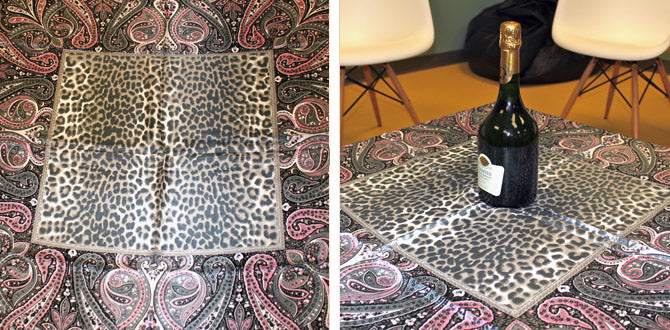
Step 1
Place your scarf (we used the Vienna Square Scarf) flat on the table. In the center of the scarf, set the bottle upright.
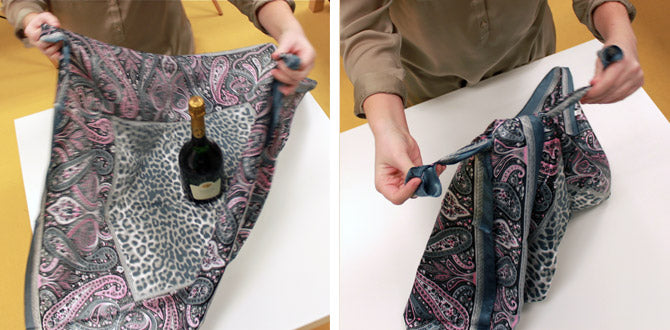
Step 2
Bring two opposite corners of the scarf together and knot the ends at the top of the bottle.
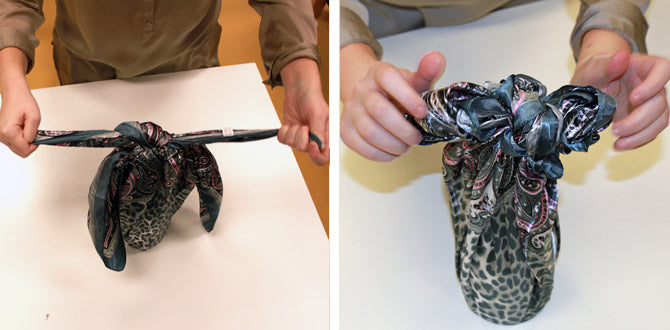
Step 3
With the remaining corners, tie another knot atop the bottle. Tie the excess fabric to taste. We chose a festive bow as our bottle-topper.
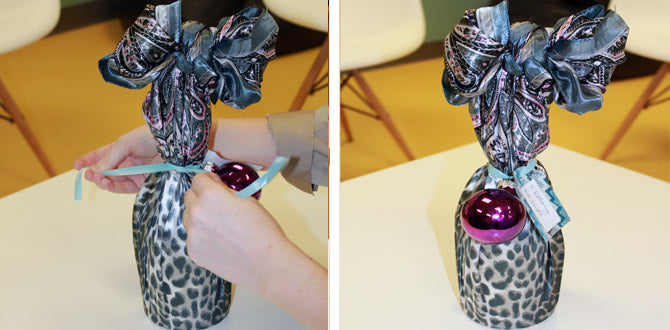
Step 4
Tie a ribbon around the neck of the bottle to complete the look. For extra style points, loop a gift tag and decorative ornament through the ribbon first.
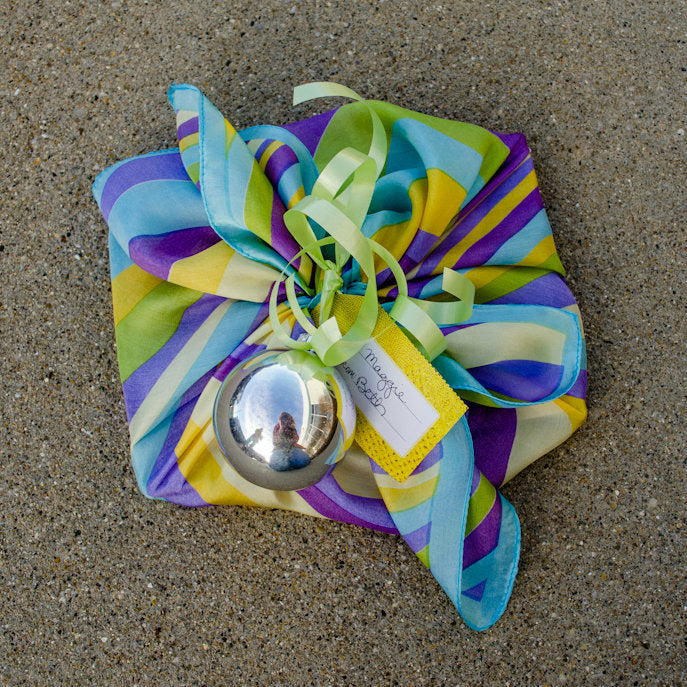
And just like that, you’ll have the prettiest present in the pile. :)
There's no place like home! Take me back to ScarvesDotNet.


