


DIY Summer Shrug
From halter tops to galaxy scarves, the SDN gals can’t get enough of crafty, creative, and innovative ways to use (and reuse) our favorite accessory. That’s why we’re beyond thrilled to bring you our latest series: The Scarves Dot Net DIY Challenge.
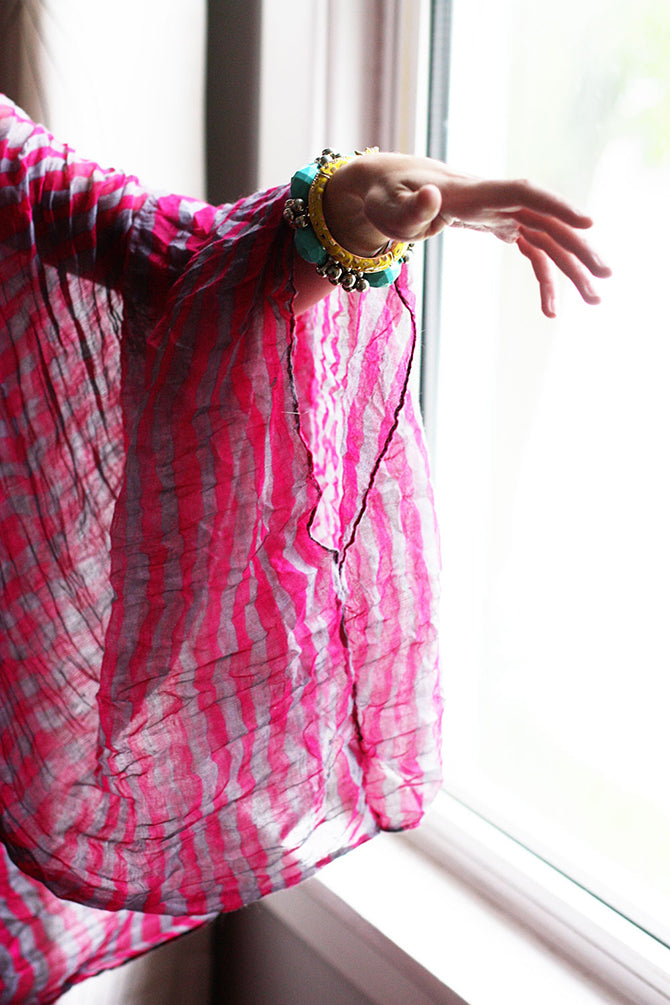
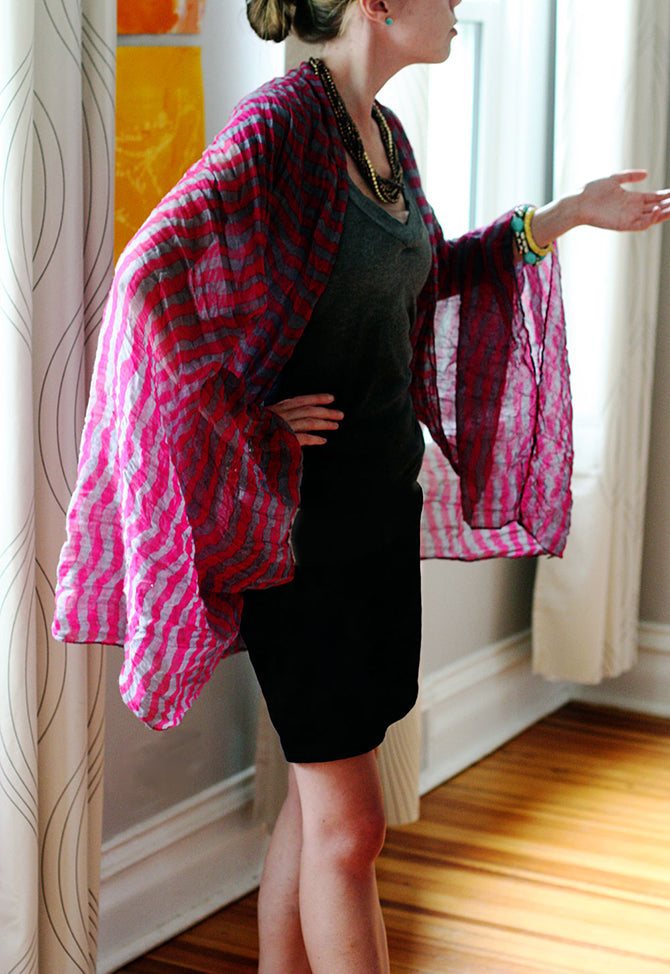
Today we’re excited to bring you the summer shrug from Aunt Peaches. This lightweight, scarf-made accessory is the perfect companion for summer weddings and brunch with the girls.

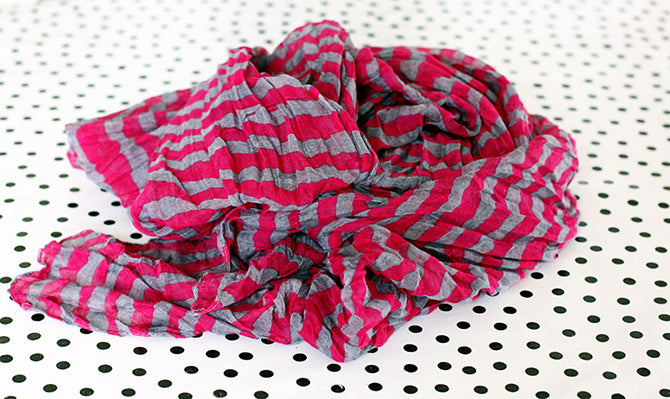
Versatility. The best thing about scarves is their versatility. Around the neck, on the head, over the jacket … and everywhere in-between! And oversized shawl scarves like this are especially versatile when it comes to finding new ways to wear your favorite scarf. These lightweight crinkled ones are fabulous for summer; they are virtually weightless, never show wrinkles, and come in a variety of vibrant patterns. What’s not to love?
Oversized scarves are especially handy in the summer for some gals, like me, who love wearing sundresses but don’t want to show off that much skin. Bare arms are great for outdoors, but don’t always fly at work or more formal environments. Sure, you could throw on a cardigan, but who wants to cover up with sweater when it’s hot outside? No thank you! I want something light and airy, something gorgeous and chic. I want something that can be worn to work in an office with slacks and heels, or on the beach with a hat and sunglasses. Enter the summer shrug!
Just a few whip stitches turn this scarf from a simple shawl into a statement shrug. BAM.
Let’s get started.
Here’s what you’ll need:
- 1 Needle
- Thread
- An oversized lightweight scarf (like this one) roughly the same length as your wingspan. Hint: Your wingspan is also the same as your height. Anything within 12” or so will be just fine; this need not be exact.
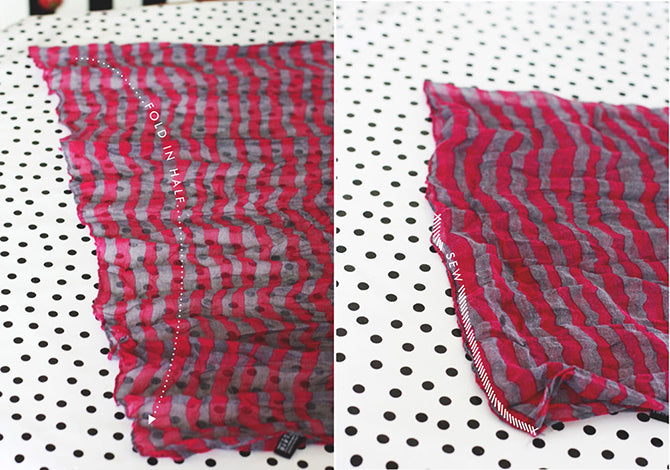
Step 1: Laying the scarf right-side-up, take one end and fold it over lengthwise, touching corner to corner.
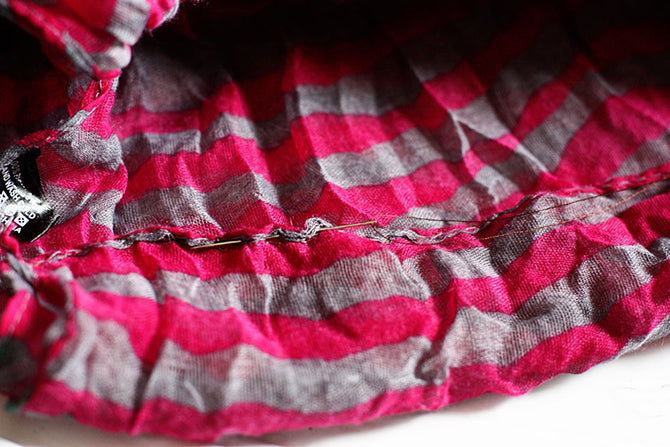
Step 2: Using your needle and thread, start at the outside corners and stitch up the side, stopping short of the last 6”. Congratulations, you just made an arm hole!
Step 3: Repeat on the other side.
You do not need to be an expert seamstress. A simple whip stitch will do the trick. Plus, using a scarf with a natural texture will hide sloppy stitches.
Hate needles and thread? Use a thin line of fabric glue or fusible webbing. It will be stiff, but it will work, too!
That’s it — you are a ready to go. Enjoy your new summer shrug!
Thanks to Aunt Peaches for this crafty shrug!

There's no place like home! Take me back to ScarvesDotNet.